
Subscribers
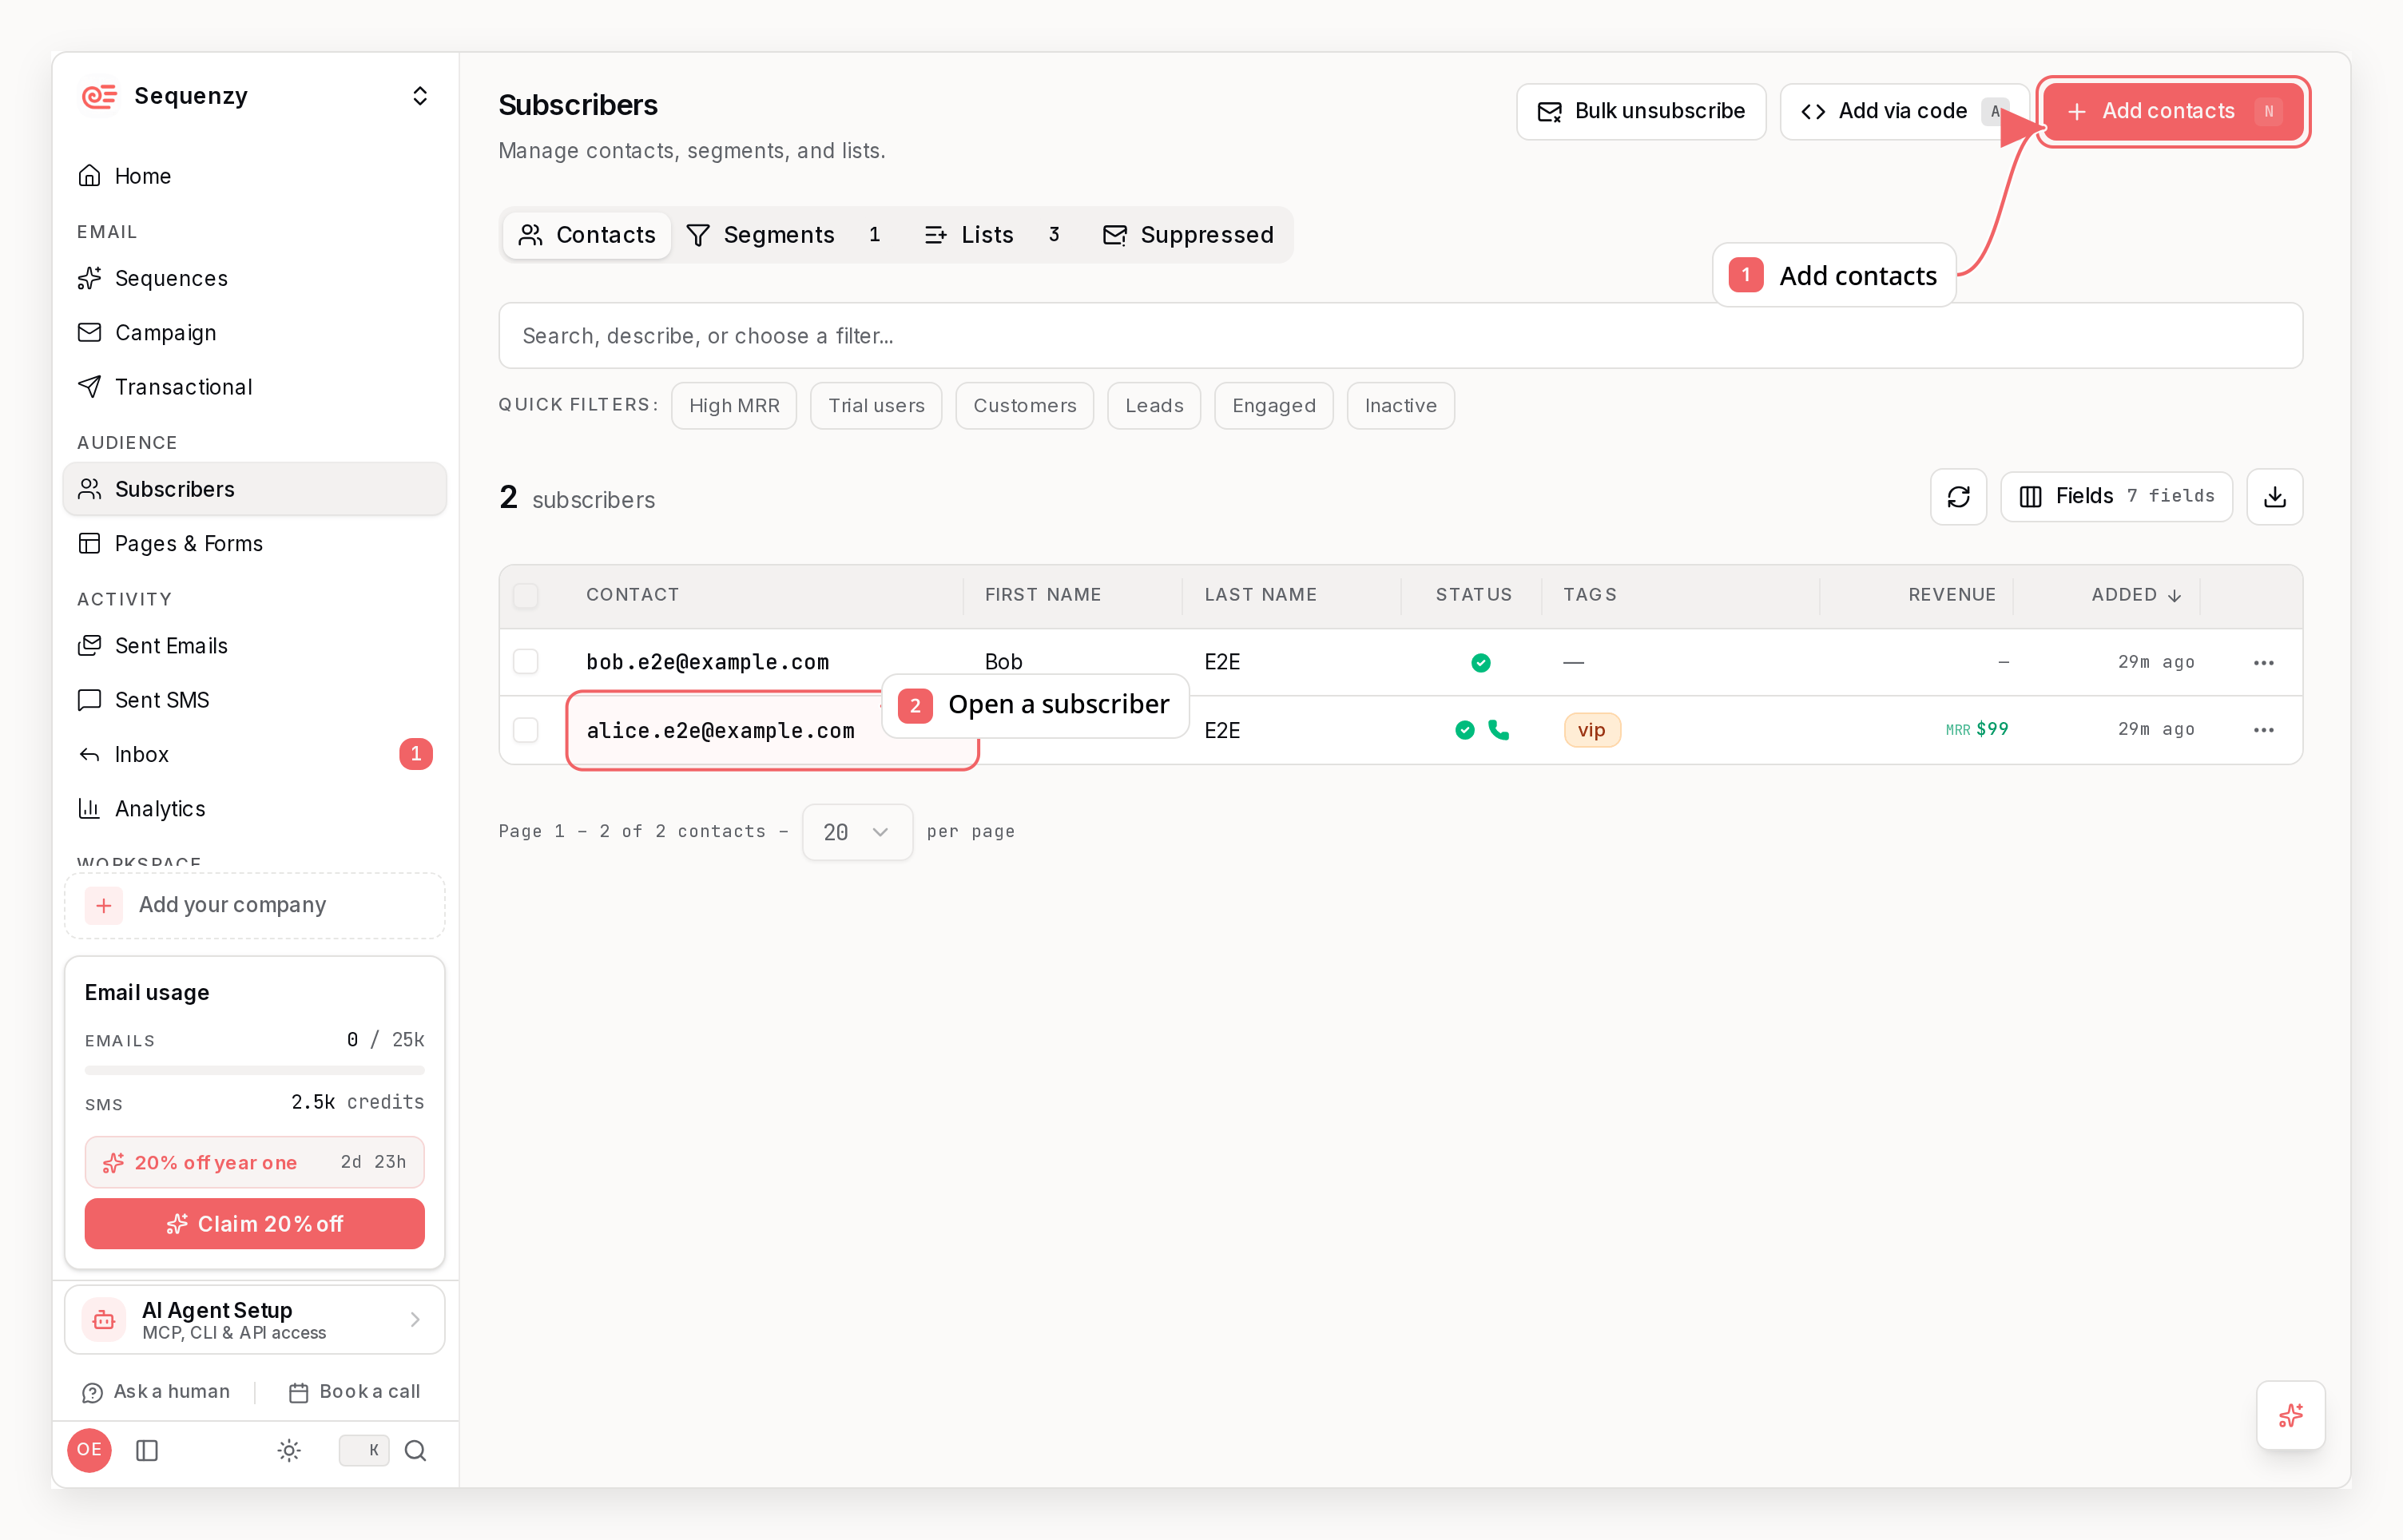
Create a campaign for a selected group
Apply filters, search or select contact rows to reveal Create campaign. Choose a template, existing email, blank draft or AI prompt. Every matching contact across pages is saved directly in the draft; list membership and existing sequence enrollments do not change. New matching contacts do not join automatically, and eligibility is checked again before sending. Saved lists and segments keep their existing campaign and sequence creation actions. You can also create a draft for a group through the API, CLI or MCP.Subscriber Data Model
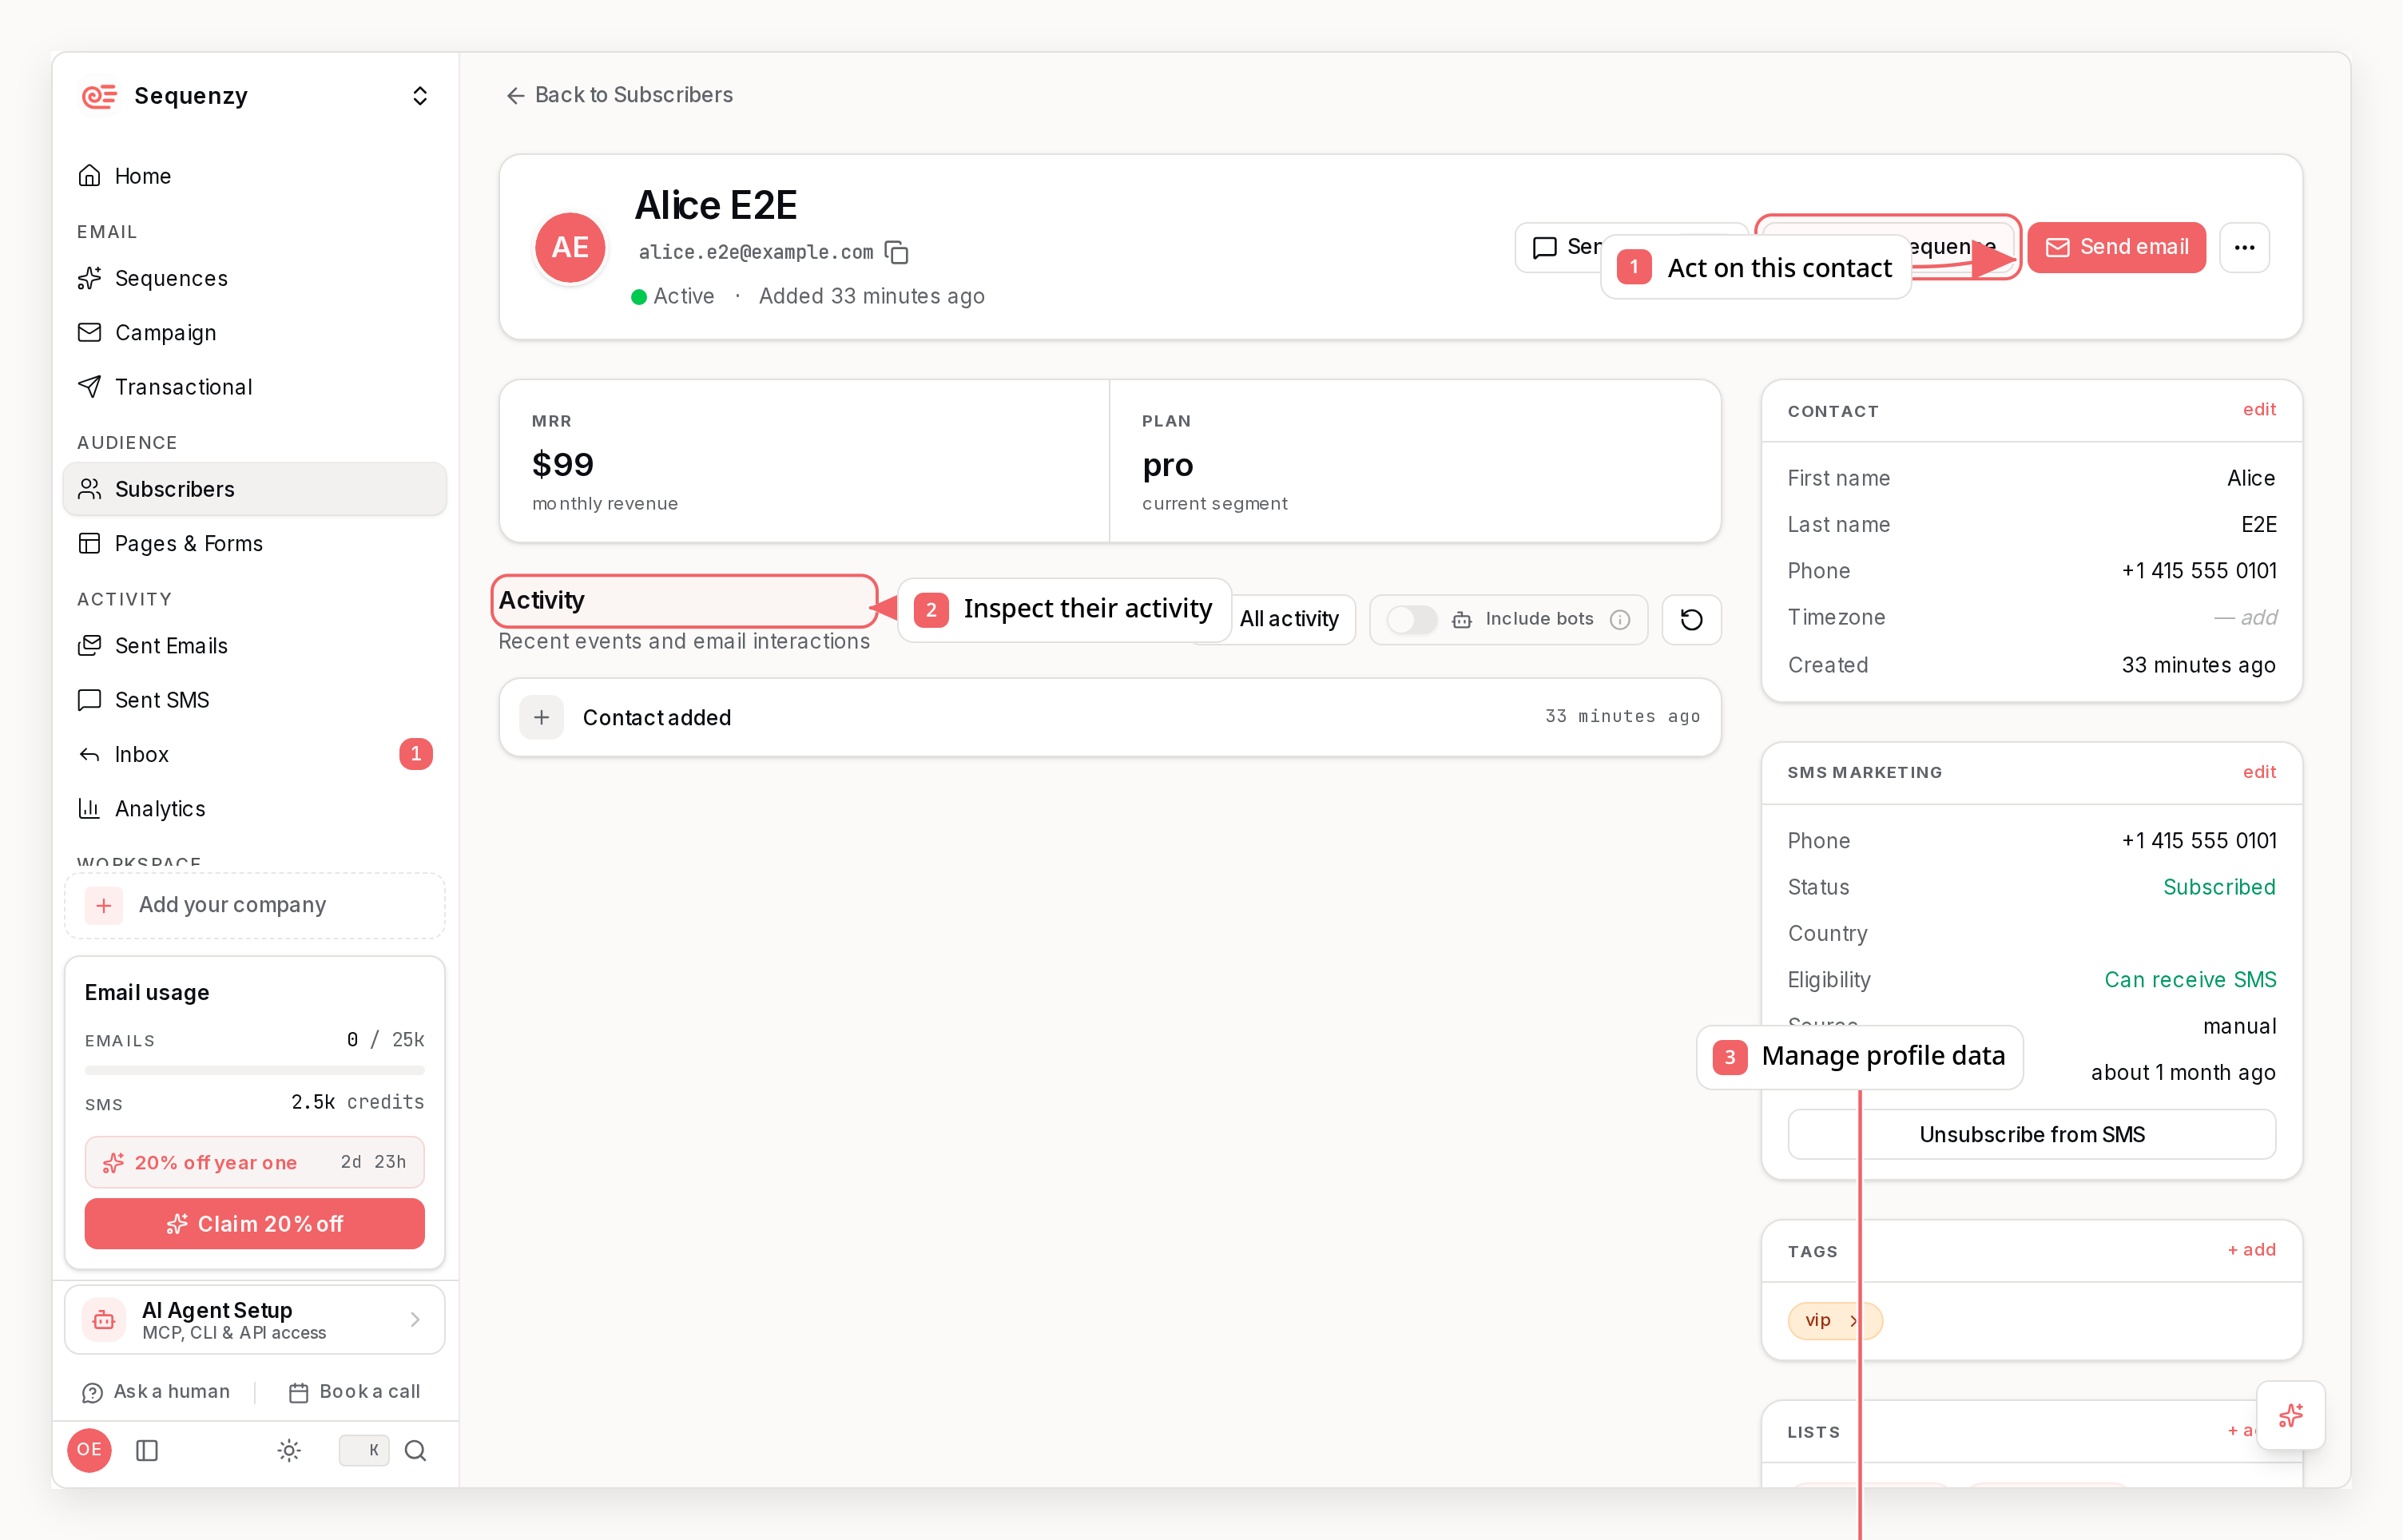
Phone-Only Contacts
A contact can exist with only a phone number and no email address - for example, an SMS-focused list uploaded from another platform. Phone-only contacts:- Can be created through the CSV import (map a phone column and leave email unmapped), the API, the CLI, and MCP
- Are automatically excluded from email campaigns and skipped by sequence email steps
- Receive SMS campaigns and sequence SMS steps normally once they have SMS consent
- Deduplicate by phone number: importing the same phone again updates the existing contact instead of creating a duplicate
Subscriber Status
Subscribers can have one of three statuses:Active
The subscriber can receive emails. This is the default status when a subscriber is created.Unsubscribed
The subscriber has opted out. They will not receive campaigns or sequences, but may still receive transactional emails if required.Bounced
The email address is invalid or unreachable. Sequenzy automatically updates this status when emails bounce.Double Opt-In
Double opt-in lets you require email confirmation before new signups become active subscribers. While confirmation is pending, Sequenzy stores the contact asunsubscribed, holds target list membership and signup tags, and sends a confirmation email. After the subscriber clicks the confirmation link, Sequenzy activates the subscriber, applies the held lists and tags, and triggers matching automations.
Double Opt-In
Learn how to enable confirmation emails for subscriber signups.
Custom Attributes
Custom attributes allow you to store any data about subscribers. Use them for:- User IDs from your application
- Subscription plans or tiers
- Geographic information
- Purchase history
- Preferences
- Dates and timestamps like signup time, renewal date, or latest checkout attempt
Using Attributes in Emails
Custom attributes are available as template variables:Using Attributes in Conditions
Filter campaigns and create sequence conditions based on attributes:field_equals: Check exact matchfield_contains: Check if value contains stringfield_greater_than: Numeric comparisonfield_less_than: Numeric comparison
2026-03-20 or full timestamps like
2026-03-19T10:56:03+00:00, Sequenzy stores them in a way that supports exact
matches and before/after-style range filters.
Commerce Attributes
Commerce integrations can sync revenue and order metrics onto subscriber profiles.
The subscriber table shows revenue metrics directly, including
AOV when either aov or legacy averageOrderValue is present.
Older commerce data may include
totalRevenue or averageOrderValue.
Sequenzy treats totalRevenue as an ltv fallback and averageOrderValue as
an aov fallback so subscriber views do not show duplicate cards for the same
metric.Purchased Products
Subscriber profiles show purchased products when Sequenzy has product-level purchase data.- Stripe purchased products come from Stripe payment history and product catalog data
- Shopify and WooCommerce purchased products come from
ecommerce.order_placedline items - Product cards can show image, name, provider, variant, quantity, price, and last purchase time when those fields are available
lineItems[].providerProductId. Variant-level display and matching also uses lineItems[].providerVariantId.
Tags
Tags are labels that categorize subscribers. They’re essential for:- Segmentation - Target campaigns to specific groups
- Automation Triggers - Start sequences when tags are added
- Filtering - Find subscribers with specific characteristics
Learn More About Tags
Deep dive into tag management and best practices
Lists And Visibility
Subscriber lists can be either public or private.- Public lists appear on the hosted subscriber email preferences/unsubscribe page. Their names are subscriber-facing, and subscribers can subscribe or unsubscribe from them individually. List descriptions remain internal workspace metadata and are never shown on this public page.
- Private lists are omitted entirely from that hosted page and cannot be subscribed to or unsubscribed from individually there. They remain available in Sequenzy for targeting, organization, imports, and automation logic.
Newsletter or Product Updates. Internal cohort names and operational buckets are usually a better fit for private lists.
If every list is private (or a company has no lists yet), the hosted page shows a single Unsubscribe button for the global opt-out instead of per-list toggles, and an already-unsubscribed visitor sees a Resubscribe option there.
List privacy controls visibility in the preference center; it does not override a subscriber’s global unsubscribe. Choosing to unsubscribe from all email still unsubscribes the subscriber from every active list membership, including private lists.
Default Lists
Plenty of things create a contact without saying which list it belongs in: a form without list targeting, an API write that omitslistIds, an event or tag action for an unknown address, a CSV import, and any integration that has no per-integration list targeting of its own. The Default Lists setting decides where those contacts land.
Find it in the dashboard under Contacts -> Lists -> Default Lists. It is not under Settings.
There are three modes, and they are genuinely different:
The setting applies automatically when a write creates a contact, not on
every write. An ordinary profile or attribute upsert for an active contact
leaves their list memberships alone unless it names lists explicitly, so a
background sync cannot pull long-standing contacts into a list created after
they signed up. Explicit subscription and lifecycle reactivation flows are the
exceptions: capture submissions (including forms, popups, landing pages, and
connected-site forms) and a confirmed provider re-creation can reapply target
or default lists so the returning contact actually rejoins them.
Read and change it from the API, CLI, and MCP as well:
defaultSubscriberListIds field on get company and update company; over MCP it is the same field on get_company and update_company. Changing it needs the companies:manage scope.
Subscriber Lifecycle
Creating Subscribers
Start on the Subscribers page. Select Add contacts, then choose whether to add contacts manually or import a CSV.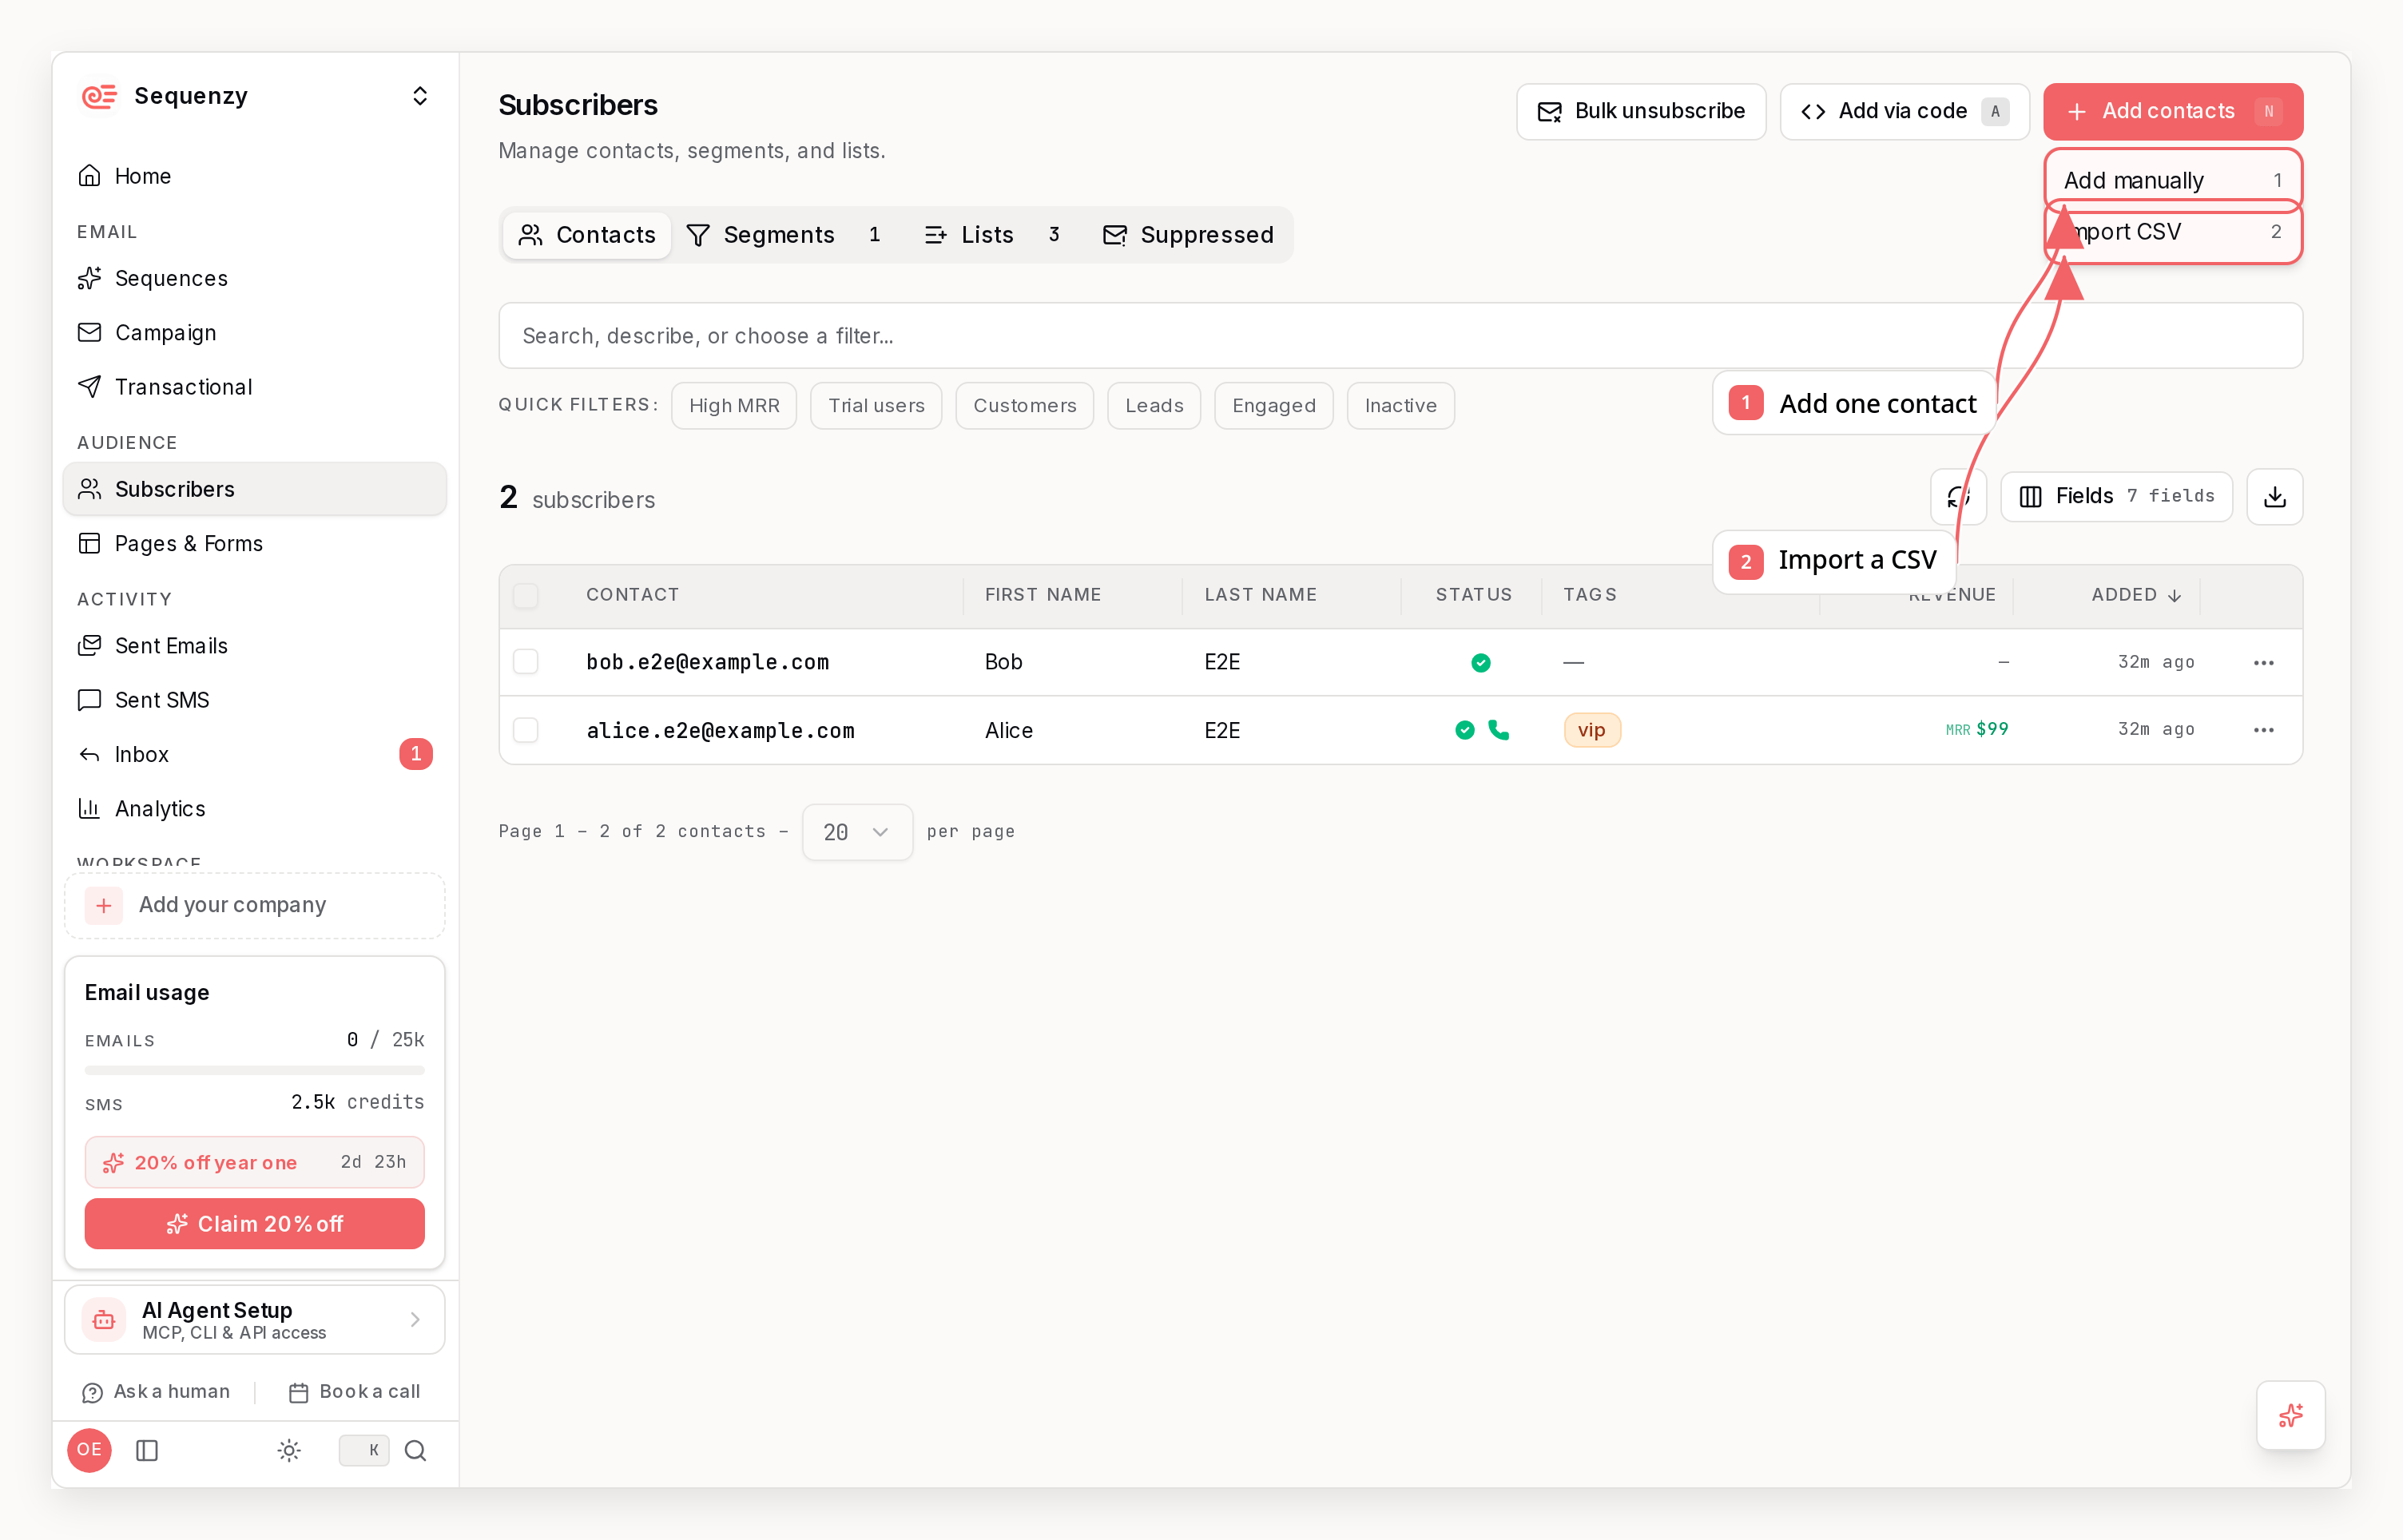
Add Manually
Enter one or more email addresses or phone numbers, choose any lists and tags, and optionally enroll the new contacts in sequences.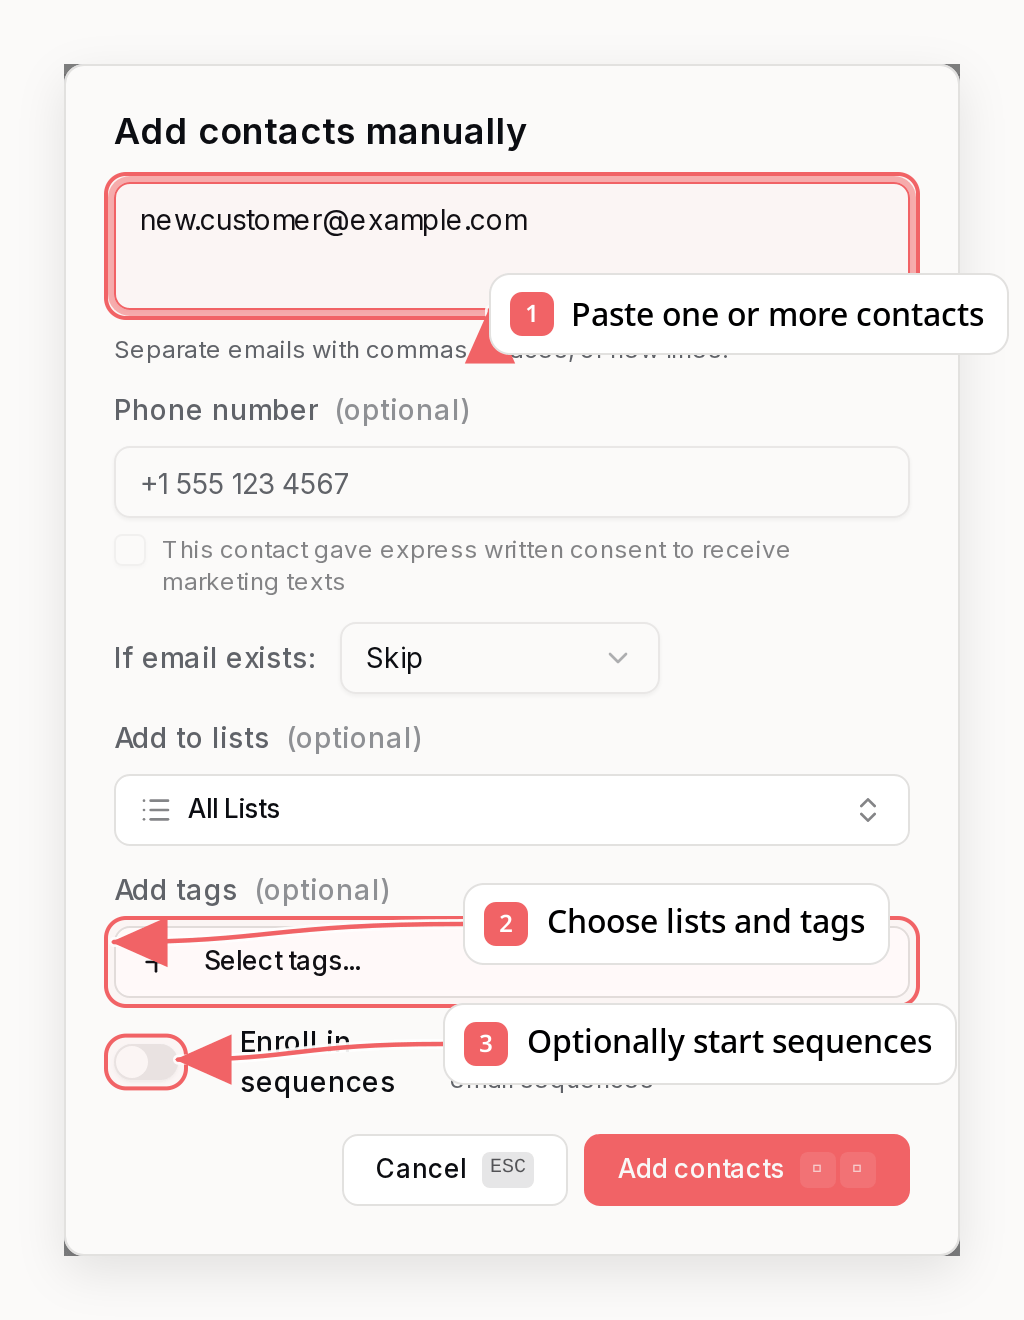
Import A CSV
For a larger batch, choose Add contacts → Import CSV, then upload a file or paste CSV data. Confirm the email or phone column, map any optional contact fields, and add tag or custom-attribute rules before previewing the import.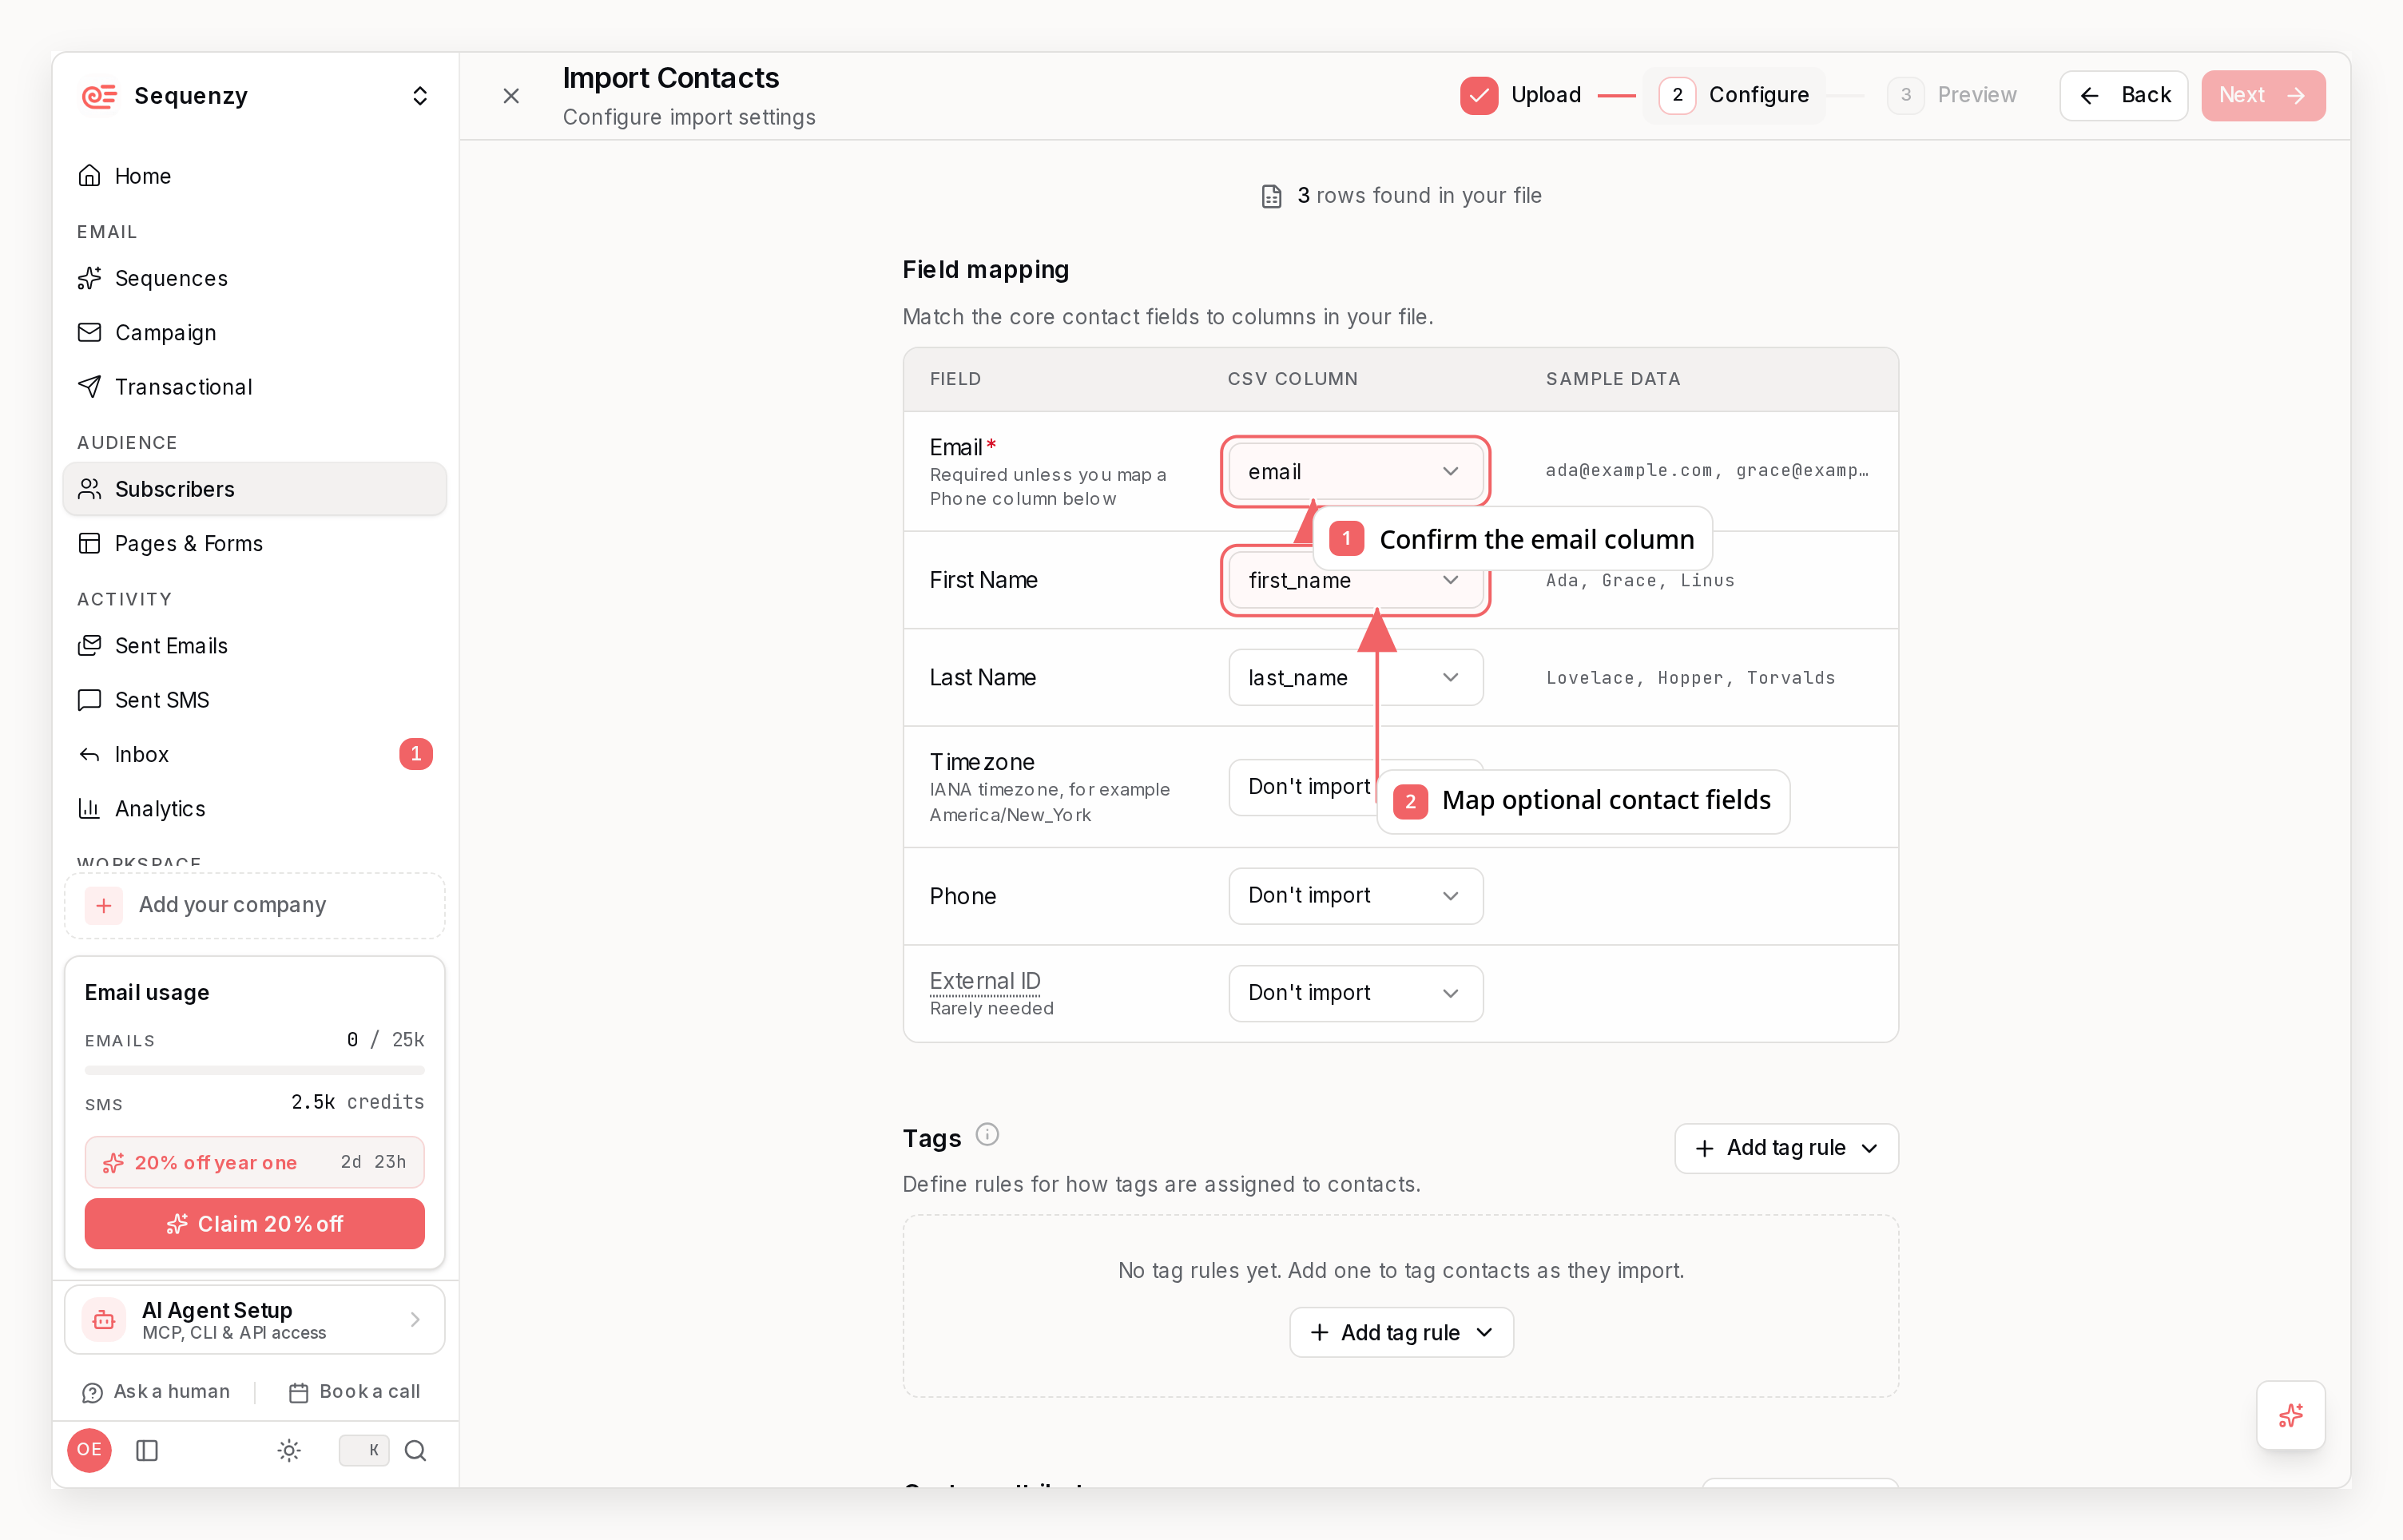
Reconciling An Import
Custom-attribute segment counts may take roughly 30–35 seconds, or longer when background processing is busy, to reflect imported updates. Attribute sync can still be pending after the import showscompleted. Wait and recheck
the segment count before using it to verify your imported audience.
Every row an import excludes is accounted for. When an import finishes, the
skipped-reason counts add up to the number of skipped rows, the failed-reason
counts add up to the number of failed rows, and added + updated + skipped +
failed equals the number of rows you submitted. The dashboard shows the reasons
in the import banner’s issue list; the API, CLI, and MCP return the same counts
on the import record. See
Get Subscriber Import for the list
of reasons.
Via API
Auto-Creation
Subscribers are automatically created when you:- Add a tag to a non-existent email
- Trigger an event for a non-existent email
- Send a transactional email to a non-existent email
- Capture a native Webflow form submission through the Webflow integration
Updating Subscribers
Use PATCH to update subscriber data:By default,
customAttributes replaces the existing public custom-attribute
map. Add "customAttributesStrategy": "merge" to the PATCH body to retain
unspecified existing keys while overwriting the keys you send.Filtering Subscribers
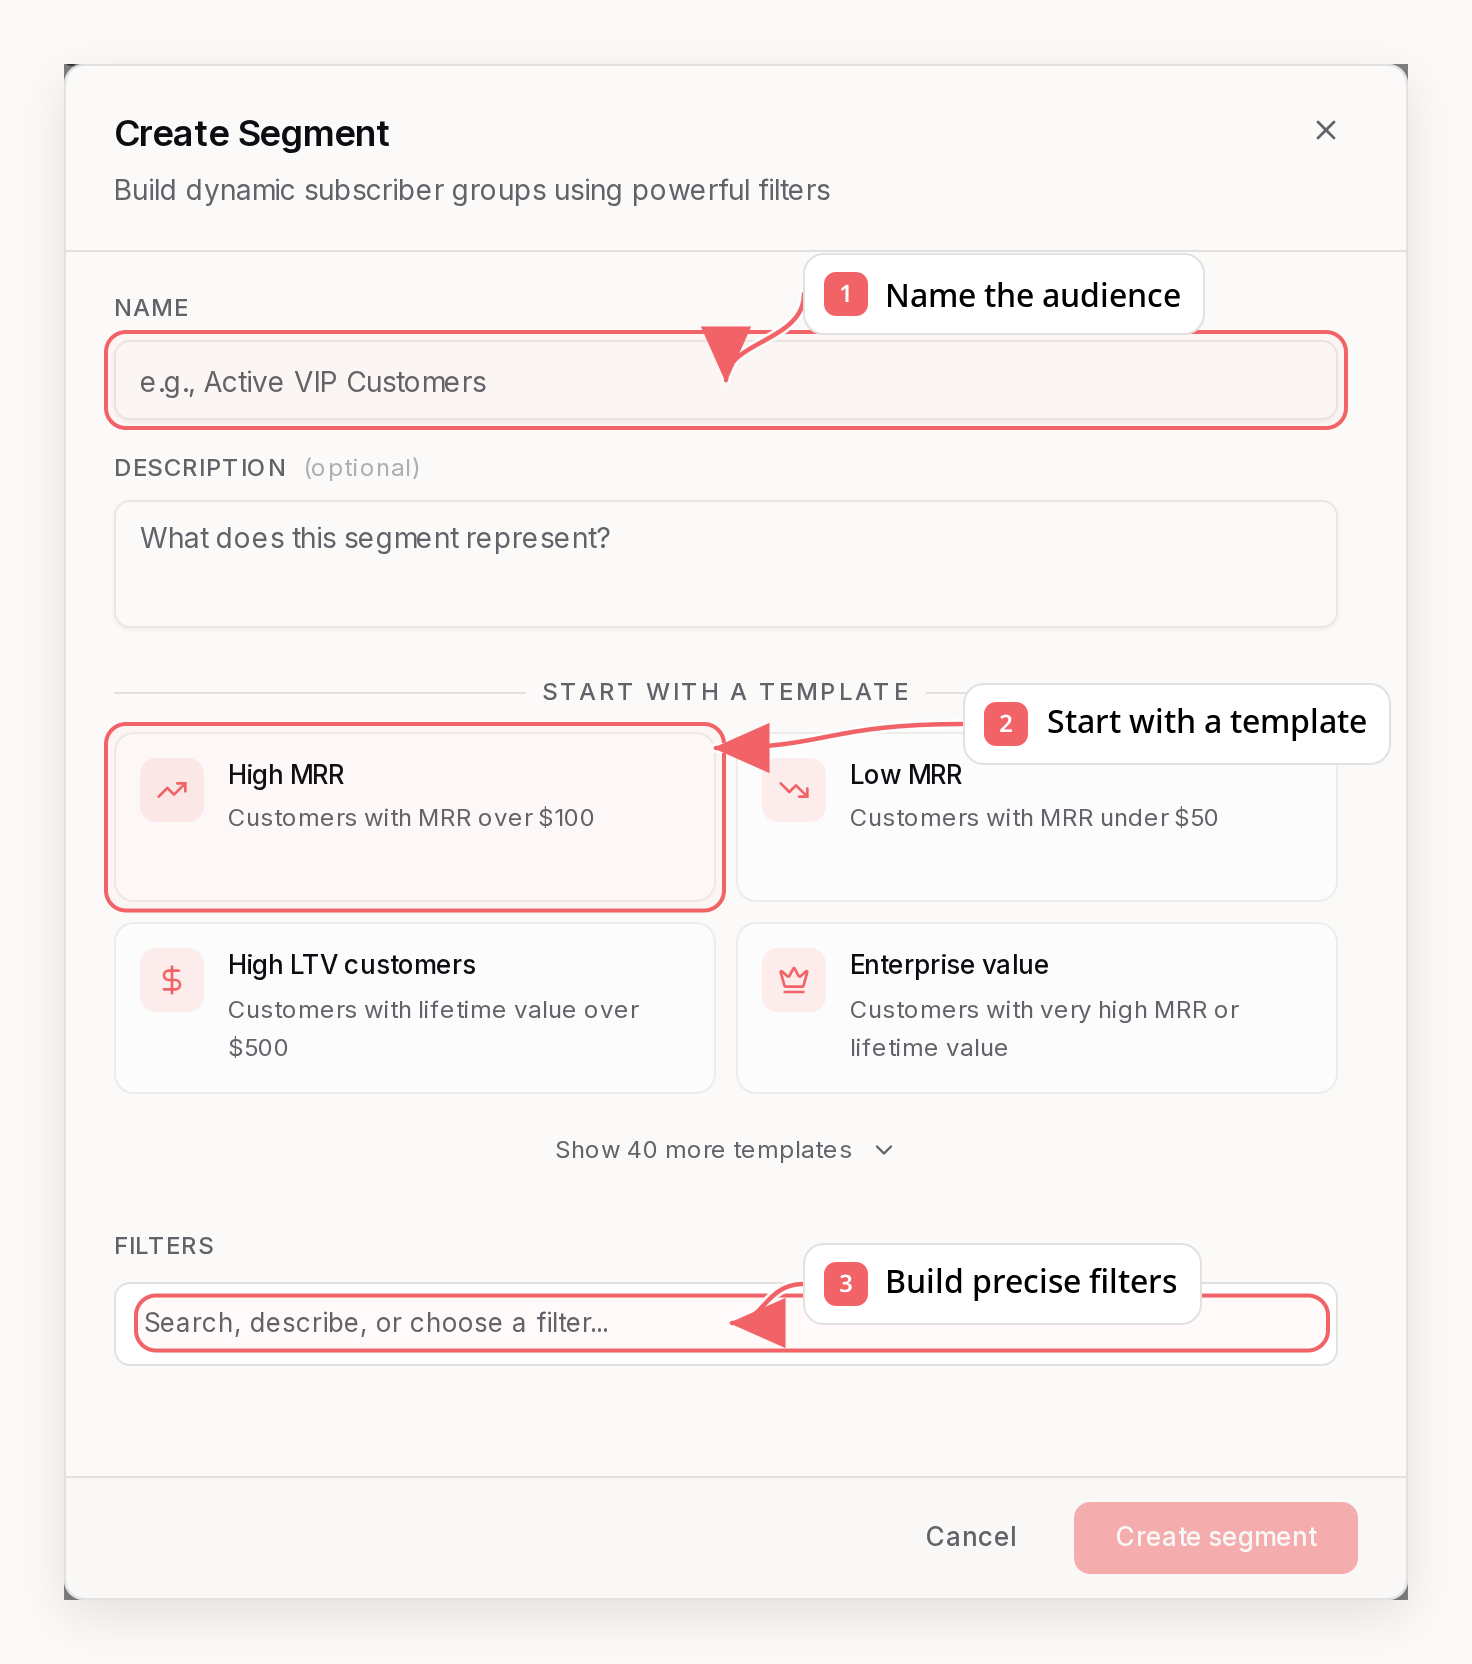
Email
is and is_not match the full address and ignore case, so use them for
explicit allowlists and exclusions. Use contains for domain or substring
matches like @company.com.
For date filters, you can use:
- Rolling relative values like
7 days ago,last week, or3 days from now - Fixed dates like
2026-03-01orMar 1 2026
less_than means “within/after this point” and more_than means “before/older than this point”. Rolling values update automatically as time passes. Fixed dates stay fixed.
If a custom attribute stores a date or timestamp, you can use the same values in attribute comparisons such as renewal_date < 3 days from now.
Email provider detection runs in the background. We normalize major providers into stable buckets such as Google, Microsoft, and iCloud, so Gmail and Google Workspace filter together, Outlook/Hotmail/Microsoft 365 filter together, and dozens of regional providers like UKR.NET, Seznam, Onet, GMX, and Telenet can also be filtered directly.
Engagement Filters
Engagement filters (emailSent, emailDelivered, emailOpened, emailClicked, emailBounced, emailComplained) accept four kinds of value:
- A rolling time window:
7d,30d,90d,180d, orall - A specific sent campaign:
campaign:<campaign_id> - An email-type scope with a time window:
marketing:<timeRange>ortransactional:<timeRange> - A count with a time window:
count:timeRange(only with theat_least/less_than_countoperators)
marketing covers campaigns, marketing automations, and Send API calls made with emailType: "marketing"; transactional covers transactional-policy sends. This is how you avoid over-emailing without transactional traffic muddying the picture. For example, “hasn’t received a marketing email in the last week - receipts and password resets don’t count”:
is, is_not, and - for emailBounced - is_temporary_bounce or is_permanent_bounce. They cannot carry a count or be combined with a campaign:<campaign_id> value.
Count values let you segment by how many times someone opened or clicked, not just whether they did. For example:
- “Best clickers - clicked 10 or more times, ever”:
- “Suspicious openers - opened 10+ emails but never clicked (likely bot or spamtrap opens)”:
- “Fading subscribers - fewer than 2 opens in the last 90 days”:
campaign:<campaign_id> value always checks presence, not a count.
Combining two engagement filters with AND lets you target narrow audiences that rolling windows can’t express. For example:
- “Subscribers who bounced the launch announcement but did not bounce the follow-up”:
- “Subscribers who opened the March newsletter and then clicked the April promo”:
Saved Segment Logic And Counts
Saved segments can combine filters with eitherAND or OR logic at every group level:
- Use
ANDwhen every filter must match - Use
ORwhen any one filter should match
last_login within 90 days AND (plan_end is empty OR plan_end is before today). In the API, nested segments use the v2 root shape with kind: "group" and children containing filter leaves or more groups. Existing flat filters plus filterJoinOperator requests still work.
Array-of-object attributes use wildcard paths such as
history_events[].eventvenue_id. When two or more positive filters on the
same array path are connected only by AND, one shared array element must
satisfy every condition. For example, a 2010 visit at one venue plus an
unrelated recent booking elsewhere does not satisfy “visited this venue
recently.” Negative filters (is_not, not_contains, and is_empty) combine
independently because each means that no array element may match its condition.
Saved segments support two additional segment-only fields:
event- filters by custom subscriber events. Use values likesaas.purchase:30d,saas.purchase:all, orsaas.purchase:5:30dwithat_least/less_than_count.segment- references another saved segment by ID, so you can compose one segment from another. Sequenzy protects evaluation from cycles and excessive nesting depth.
- Matched contacts - every contact that matches the segment definition, regardless of status
- Active subscribers - matched contacts who are still eligible for campaigns
Suggested Segments
The Segments page suggests segments you haven’t created yet. Ready-made templates matched to your business type are always available, and Suggest with AI analyzes what is actually in your workspace - your tags, custom attributes, recently fired events, lists, and existing segments - and proposes segments built from that data. Each AI suggestion is verified against your subscribers before it is shown, so every card carries a live subscriber count and suggestions that would match nobody are dropped. Clicking a suggestion opens it prefilled in the segment editor; nothing is saved until you review and confirm it. Generated suggestions stay on the page across visits until you use them or generate new ones. Each AI suggestion also carries a recommended next step. After you save the segment, one click either opens a new campaign with its audience already set to that segment, or opens the sequence template picker with the new sequence set to trigger when contacts enter the segment.Date Filter Examples
Rolling relative examplesBest Practices
1. Capture Data at Sign-up
Collect custom attributes when users first sign up:2. Keep Attributes Updated
Sync changes from your app to Sequenzy:3. Use Tags for Segments
Tags are more flexible than custom attributes for segmentation:4. Clean Your List
Regularly remove bounced and unengaged subscribers:- Remove hard bounces immediately
- Consider removing subscribers who haven’t opened in 6+ months
- Use re-engagement campaigns before removing inactive subscribers
Related
Tags
Learn about tagging and segmentation
Events
Track subscriber actions with events
Sequences
Automate emails based on subscriber data
API Reference
Subscribers API documentation
Background tagging
Adding tags from Contacts runs as a background task. You can leave the page and return to Background tasks to check progress, inspect failures or cancel future work. Tagging in Contacts enables tag automations; API, CLI and MCP tagging defaults to skipping automations unless you explicitly enable them. Selection reads live pages before applying tags and excludes contacts created after the request. It is not a point-in-time snapshot: changes to a contact during selection can affect membership. Once selection finishes, tagging uses those selected IDs; changing tags cannot pull additional contacts into the same task. Deleted contacts are counted as failed. Inspectprocessed, succeeded, failed and failures, including on completed tasks. The failure sample contains up to twenty contacts. If a worker stops while updating a contact, the task reports an uncertain outcome and does not automatically repeat that action. Check that contact before starting another tagging task. Cancellation keeps applied tags and reports an update already in flight as uncertain.
Use subscribers:read to inspect tasks. Tagging also requires subscribers:tag; creating tag definitions requires tags:write, and enabling automations requires automations:trigger. Personal keys retain your current company role restrictions. Workers recheck permissions as they process pages.
requestKey and settings after a timeout or interrupted start response. The CLI prints its chosen recovery key before sending the request. Different settings with the same key return 409. Tasks have a seven-day processing deadline; terminal records are retained for seven days afterward. See Start a Subscriber Operation for the HTTP contract.